Table of Content
- Step 10
- CS New Touch Screen Digitizer IC Chip for iPhone 6 &6 Plus U2402 343S0694
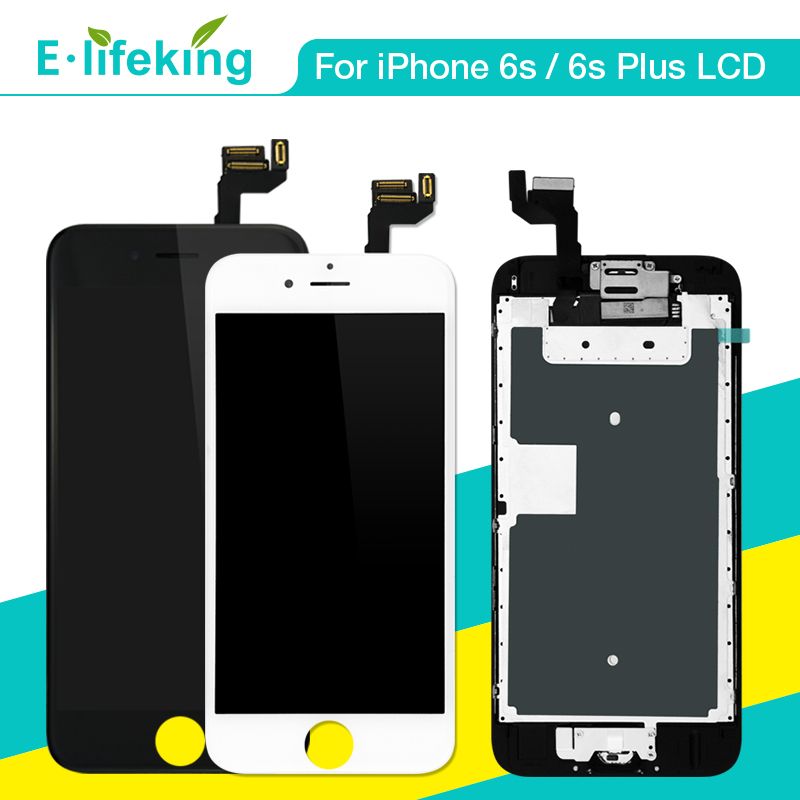
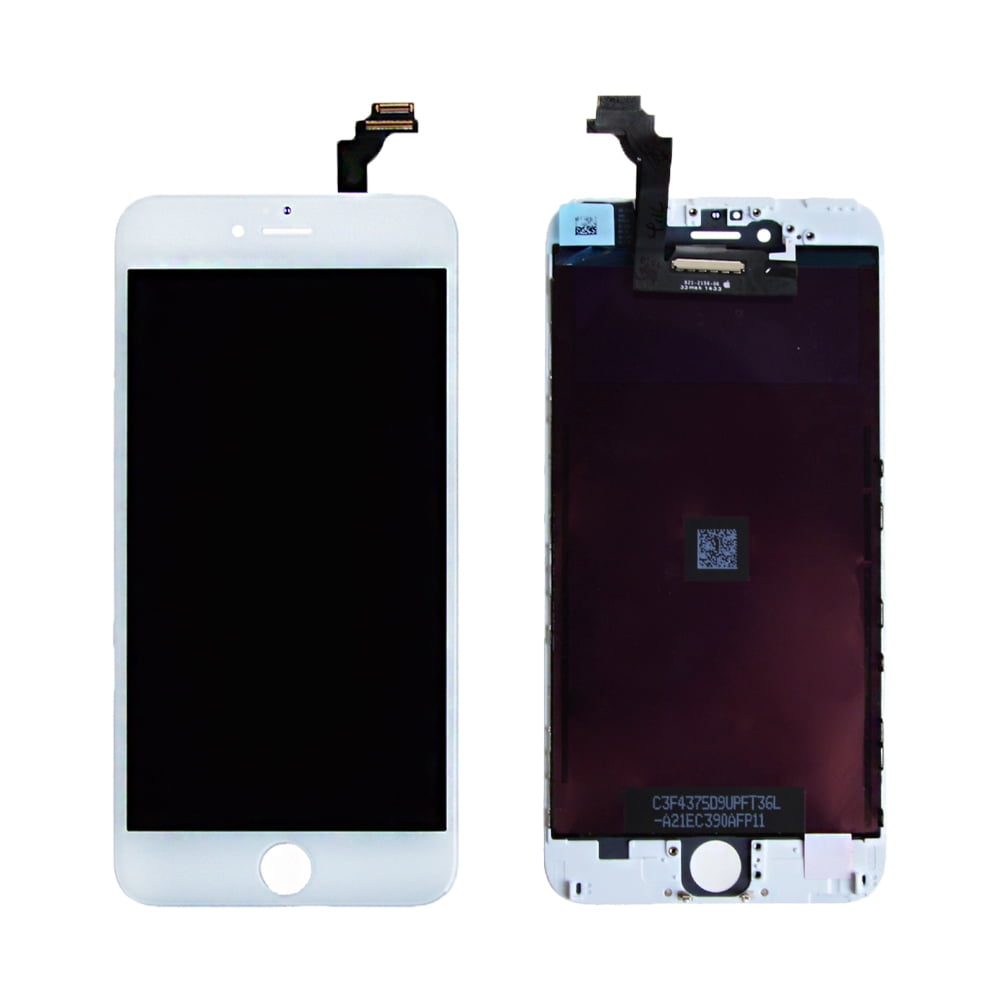
- iPhone 6 Plus Replacement Screen LCD Touch Screen Digitizer Display Assembly 6+
- For iPhone X XR XS XS Max Ear Speaker Flex Proximity & Light Sensor Replacement
- iPhone 4 5 6 6s SE 7 8 Plus Replacement LCD Touch Screen & Digitizer Assembly UK
- Separating front panel assembly and rear case
Use the flat end of the spudger tool to disconnect the digitizer cable connector. Gently pull the plastic nub on the suction cup to release the vacuum seal and then remove the suction from the display assembly. I will be testing this out myself as soon a I get a new touchID cable/along with the LCD Panel.
During reassembly, pause here if you wish to replace the adhesive around the edges of the display. Throughout this guide, keep careful track of your screws so that each one goes back where it came from during reassembly. Installing a screw in the wrong place can cause permanent damage.
Step 10
Whether you need to repair or have a full replacement of the digitizer or LCD, it may be more cost effective to get the parts separately and repair them yourself. Using the flat end of the spudger tool, disconnect the front-facing camera, sensor cable connector, and the home button cable connector. Replacement LCD screens are available for the iPhone 6 Plus for both white and black phone models. Included in the packages offered are a variety of different parts of the front side of the phone. Select listings for LCD and touchscreen replacements have product options that are compatible with multiple phone models.
Using your fingertip, gently press up on the home button from the front side of the display assembly. Use firm, constant pressure to slowly separate the home button's rubber gasket from the front panel. In the next four steps, take care to pry up only on the cable connectors, and not on their sockets on the logic board. Use a clean fingernail or the edge of an opening tool to gently pry the battery connector up from its socket on the logic board.
CS New Touch Screen Digitizer IC Chip for iPhone 6 &6 Plus U2402 343S0694
You may need to transfer remaining components before installing. Wear safety glasses to protect your eyes from any glass shaken free during the repair. Lay overlapping strips of clear packing tape over the iPhone's display until the whole face is covered. Choose a size and copy the code below to embed this guide as a small widget on your site / forum.

Add a rubber band to keep the display securely in place while you work. The iSclack is designed to safely open your iPhone enough to separate the pieces, but not enough to damage any of the display cables. Place the bottom of your iPhone in between the suction cups. Pull up on the small nub on the suction cup to remove it from the display. Pull up on the suction cup with firm, constant pressure to create a slight gap between the front panel and rear case.
iPhone 6 Plus Replacement Screen LCD Touch Screen Digitizer Display Assembly 6+
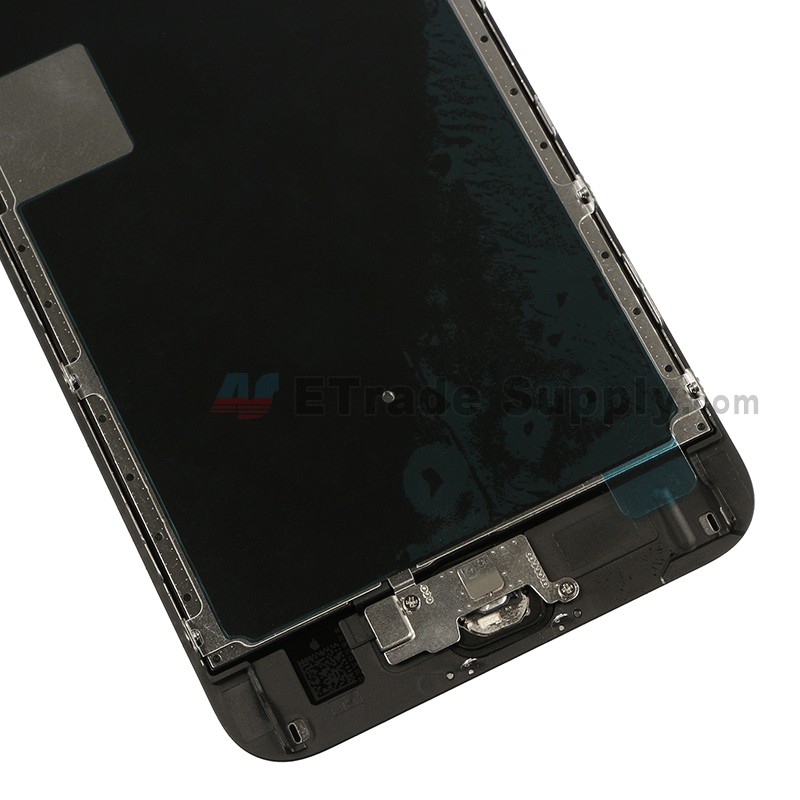
Optionally, apply mild heat to the lower edge of the iPhone using an iOpener or hair dryer for about a minute. You can also use this guide to replace the home button bracket. Use a set of tweezers to carefully pull the gasket up from the home button. There is power on the second logic-board connector from top, misplacing it while assembly can cause short circuit. Your replacement part may come with an extra Phillips screw already installed left of the Home Button.
I work at an Apple repair centre in based in the UK and we have recently encountered MAJOR issues with replacement home buttons. It turns out that home buttons are linked too the logic board on each handset due to the method in which Apple stores you biometric data. Due to this, to the greatest extent of our knowledge, any update will cause an ERROR 53 to occur. As of yet we have not be able to rescue a handset from this state.
For iPhone 6S 6 6S 7 Plus LCD Display + Touch Screen Digitizer Replacement Parts
If none of the recommended options worked and you’re willing to play doctor, investing in the right tools to resurrect your home button is necessary. Please note that only the iPhone 6/6 Plus’ original assembly will be able to use the Touch ID function. Installing a new home button will only restore normal home button functionality, and not the Touch ID features. When your Apple iPhone 6/6 Plus home button is not working, you’ll find yourself struggling to complete the simplest tasks. Apart from the iPhone screen, the home button is one of the most utilized components, so ensuring it’s functioning at all times is mandatory.
We also offer a mail-in repair service for customers who can’t get to a local store. If paying $200.00 is not in your budget to repair your broken home button, shopping for the best price is going to save you time, money, and headaches. Some services like iFixandRepair are charging $70.00, and Genius Phone Repair is quoted at $104.99 to fix an iPhone 6/6 Plus home button. To reassemble your iPhone 6/6 Plus, simply follow these instructions in reverse order and you have officially fixed your iPhone’s broken home button. Gently peel back the home button the rest of the way off of the display with the spudger tool. Power off your iPhone 6/6 Plus and remove the two 3.6 mm pentalobe screws next to the lighting connector or where you commonly plug your phone in.
The only problem I experienced was that you have to re-use the black gasket around the home button. It was tricky to have to place it on the new home button, but I got it after a few tries. Bend the connector back to ensure it doesn't make contact and power the iPhone on while you're working on it. Insert the flat tip of the spudger under the right edge of the display. Slide the tip of the spudger up the left side of the phone, between the front panel and the rear case. The safest place to pry from is the notch in the front panel above the headphone jack.
Use the pointed tip of a spudger to disconnect the home button cable from its connector on the display assembly. Use a spudger or a clean fingernail to disconnect the battery connector by prying it straight up off the logic board. Use a plastic opening tool to hold down the rear case while pulling up the suction cup to open the phone. Use the flat end of a spudger to disconnect the digitizer cable connector. Using the point of the spudger tool, disconnect the home button cable connector by gently pushing it up and away from the home button.
Several clips along the top edge of the front panel form a partial hinge, allowing the front panel assembly to swing open like a book. Open the display to about a 90º angle, and lean it against something to keep it propped up while you're working on the phone. Pull the home button end of the front panel assembly away from the rear case, using the top of the phone as a hinge.
Remove the unnecessary screw so that you can reinstall the home button bracket. If you are replacing a broken front panel, there may be glass shards stuck to the home button. Carefully remove any remaining glass before transferring your home button to a new display.
The rubber gasket surrounding the home button is very thin and tears easily. Carefully wedge the tip of a spudger underneath the home button connector cable. Be sure the cup is pressed securely onto the screen to get a tight seal. Close the handle on the iSclack, opening the suction cup jaws. If the plastic depth gauge is attached at the center of the iSclack, remove it now—it's not needed for larger phones like the iPhone 6 Plus.


No comments:
Post a Comment